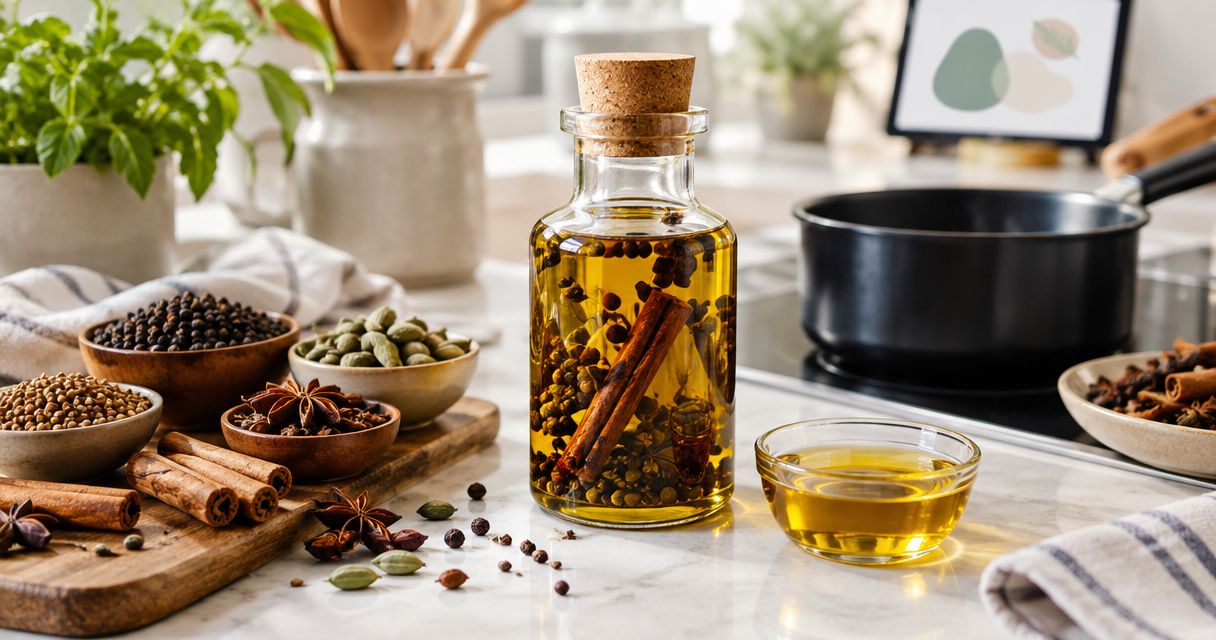
Instead of separately toasting spices and guessing when to add oil, use one controlled sequence: dry the equipment, toast only when needed, bloom in warm oil, then strain directly into your dish. This guide explains how to infuse oil with whole spices in 2026 using aroma, gentle heat, and immediate use rather than a storage shortcut.
- 5Senses sells whole spices for home cooks building a repeatable bloom-and-infuse routine.
- For how to infuse oil with whole spices, warm gently, watch for scorching, and strain before serving.
- Dry toasting adds roasted character; skip it when you want a lighter infusion.
- Homemade spice oil is not automatically shelf-stable. Make what your dish needs.
Why this matters
Blooming and infusing are related, but they serve different purposes. Blooming briefly heats spices in fat to develop their aroma before cooking continues. Infusing lets the oil take on spice flavor, usually with the solids removed before serving.
Dry toasting is a separate step. It develops roasted aromas before oil enters the pan, but it also adds another opportunity to scorch the spices. You do not need all three techniques for every dish.
5Senses is best for home cooks and spice enthusiasts buying whole spices for cooking. The brand sells single-origin whole spices and Spicecare grinding and storage accessories; this workflow does not depend on a particular accessory.
For your 2026 kitchen routine, choose the flavor first. A roasted cumin finish calls for a different treatment from a gently warmed cardamom oil. The method should follow the dish, not the other way around.
Before you start
- Gather dry equipment. Use a small saucepan or skillet, a heatproof spoon, a fine-mesh strainer, and a heatproof receiving bowl. Keep a lid nearby and make sure the pan is stable on the burner.
- Choose dried whole spices and an oil suitable for cooking. Read the spice label for origin and any stated packing or harvest information. Do not treat an unstated date or certification as a product fact.
- Plan immediate use, not pantry storage. Moisture is the easy-to-miss problem: wet utensils, fresh garlic, and fresh herbs change the safety requirements. This guide is a cooking workflow, not a validated preservation method.
Set out the receiving bowl before heating anything. Once the spices smell toasted, searching for a strainer leaves them sitting in a hot pan and continuing to cook.
Keep the workspace clear. Water entering hot oil can cause splattering, and pouring from a crowded stovetop makes a simple finishing step harder than it needs to be.
Choose your flavor route
Start with one spice so you can recognize its aroma. Once the method feels familiar, combine spices that belong in the same dish rather than adding every jar from the pantry.
| Method | Best for | What it does | Advantage | Limitation |
|---|---|---|---|---|
| Dry toast | A roasted cumin or coriander finish | Heats whole spices before oil is added | Makes toasted character easy to identify | Can scorch before the oil enters the pan |
| Direct bloom | Spice oil that immediately enters a cooked dish | Warms spices directly in cooking oil | Avoids a separate toasting stage | Residual pan heat continues cooking the spices |
| Warm steep | A strained finishing oil | Holds spices in gently warmed oil before straining | Lets you build flavor without an aggressive fry | Needs tasting; appearance alone does not show strength |
Use direct blooming as your default. Add dry toasting when the dish specifically needs roasted flavor. Choose a warm steep when you want flavored oil without loose spice fragments.
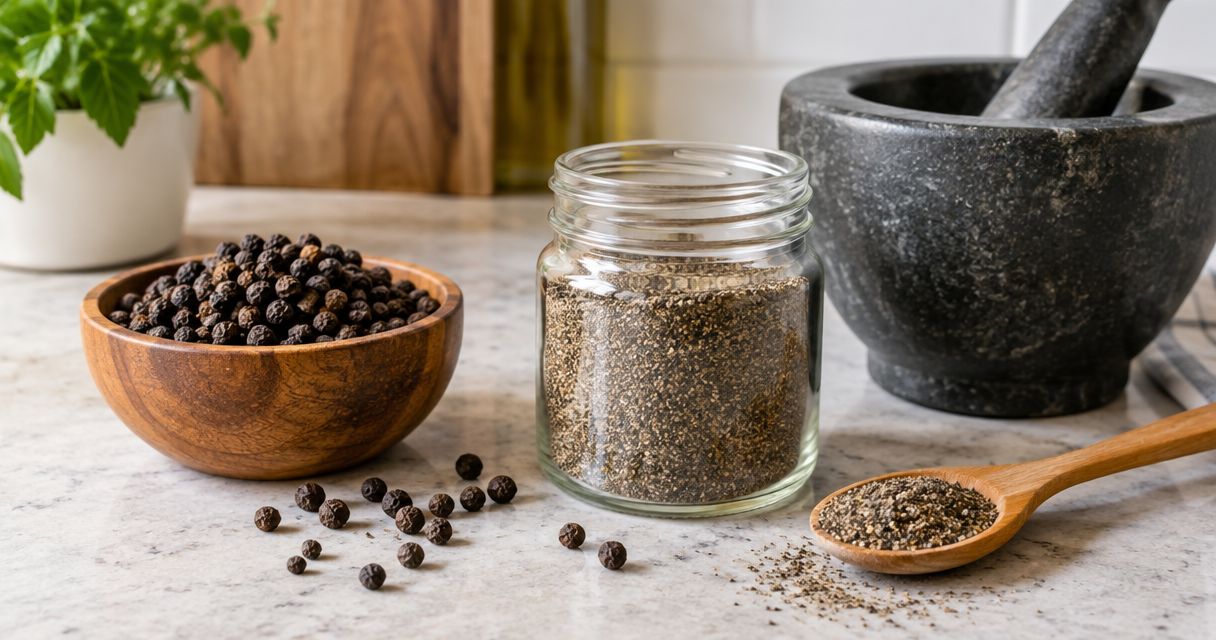
Whole pepper, cardamom, cumin, and coriander each bring different aromas. Pick the spice for the food you are serving: pepper for a sharp finish, cardamom for a fragrant accent, or cumin and coriander for savory depth.
The trade-off with whole spices is straightforward. They are easier to remove than fine powder, but an intact seed or pod exposes less surface area than a cracked one. A light crush changes the infusion without turning it into a gritty paste.
Spice preparation
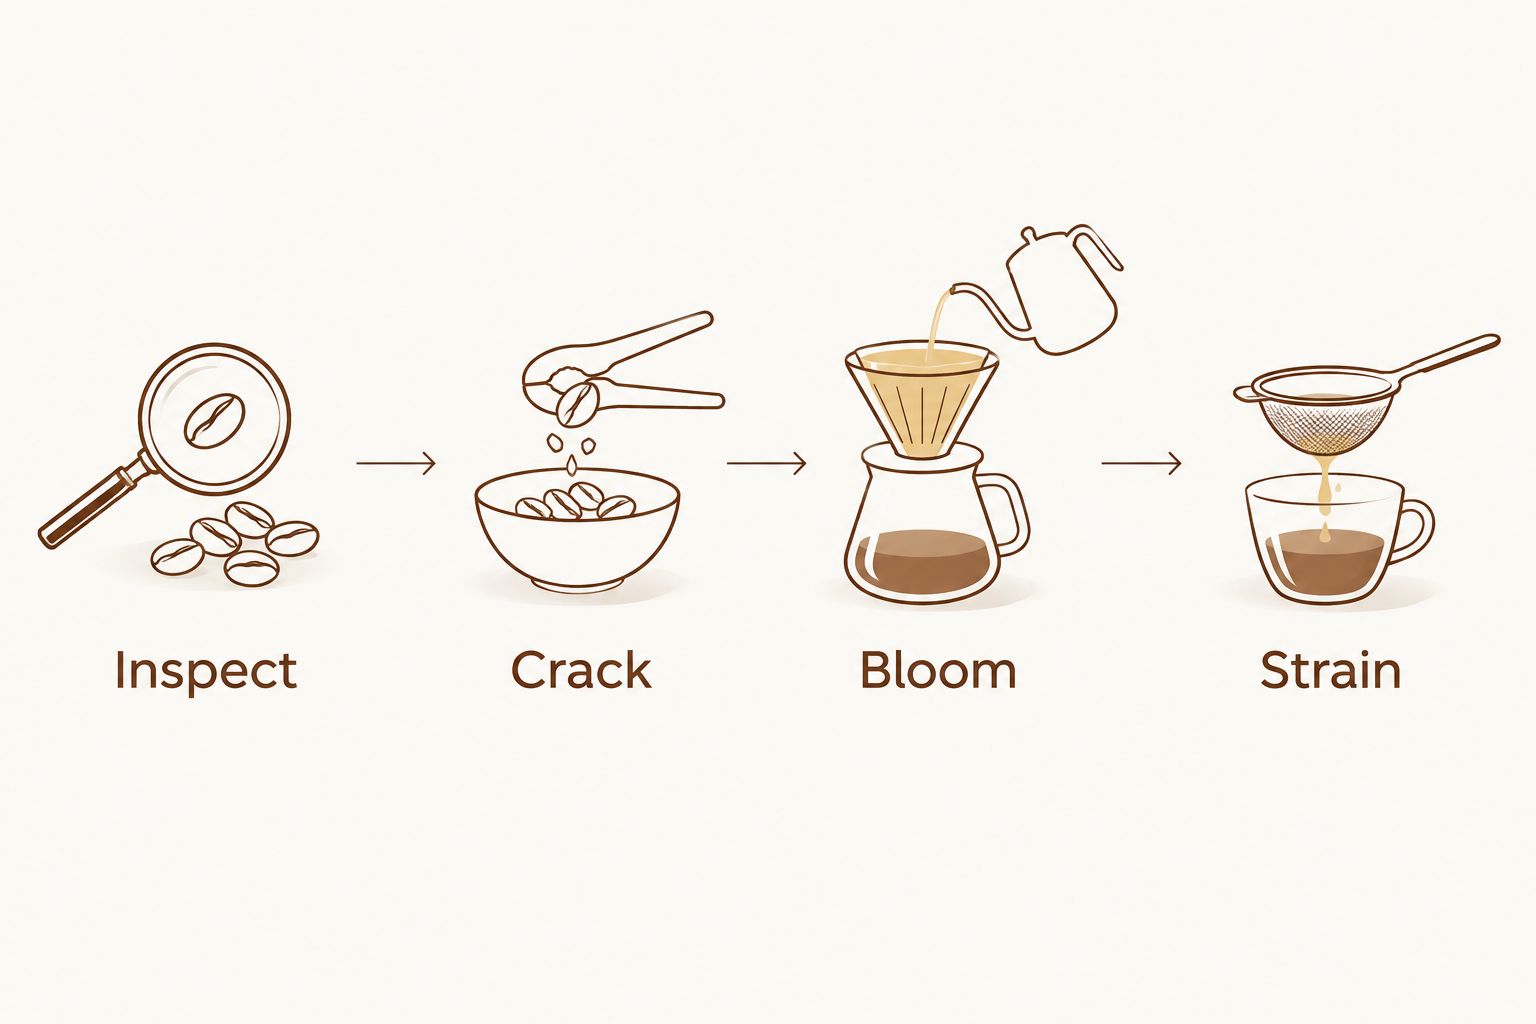
Inspect, portion, and crack
- Inspect the spices in good light. Reject anything with visible mold, unexpected dampness, or an off odor. Cooking does not make spoiled ingredients suitable to use.
- Set aside only what you intend to cook with. Keep the main spice container away from steam and close it before heating the pan.
- Lightly crack sturdy spices when you want more contact with the oil. Use a mortar or another suitable kitchen tool; stop before the spice becomes powder.
- Keep different spices separate if you plan to toast them. Their size and structure differ, so a shared pan does not guarantee an even result.
- Put the oil and receiving bowl within reach. Decide whether the finished oil will enter a sauce, dress vegetables, or finish a bowl of food.
Expected result: the spices are dry, identifiable, and ready to heat, with no last-minute equipment search.
For cardamom, opening the pod exposes the seeds. For pepper, a coarse crack exposes the interior while leaving pieces large enough to strain. Fine grinding is useful for other cooking methods, but it complicates a clear finishing oil.
Keep a short note for your 2026 batches: spice, intact or cracked, oil, treatment, and dish. Recording the method makes the next batch easier to adjust without pretending that every spice responds identically.
Heat and infusion
Toast when the dish needs it
- Put a dry pan over gentle heat. Add the spice you intend to toast and spread it so you can move it easily.
- Stir or shake the pan to prevent individual pieces from sitting against one hot spot. Watch the spices and smell the changing aroma.
- Remove the pan from the heat when the aroma becomes clearly toasted. Do not wait for smoke or blackened surfaces.
- Transfer the spices out of the pan if the pan remains very hot. Let the pan lose excess heat before introducing oil carefully.
Expected result: the spice smells roasted rather than burnt, with no smoke or blackened pieces.
Skipping this stage is not a lesser method. Direct blooming preserves a different flavor profile and removes the risk of scorching during a dry toast. Choose it when roasted character would dominate the dish.
A dark pan makes subtle color changes harder to see. Smell, movement, and close attention matter more than chasing a particular shade.
Bloom, then steep
- Add the cooking oil to a pan that is no longer excessively hot. Add the prepared spices, whether toasted or untreated.
- Warm gently and stir. Watch for restrained activity around the spices rather than an aggressive fry; remove the pan from the burner if the oil smokes.
- Smell the oil as the spice aroma develops. Keep your face away from the pan and do not taste hot oil directly.
- Take the pan off the heat once the aroma is clear. Let the spices steep in the warm oil while you prepare the receiving bowl or finish the dish.
- Cool a small spoonful on a separate dish before tasting. Adjust by continuing a gentle steep, or dilute with the same unheated oil if the flavor is too strong.
Expected result: the oil carries a recognizable spice aroma without a burnt smell or harsh toasted aftertaste.
Residual heat is part of the cooking. Taking a pan off the burner stops the heat source, not the cooking instantly. A heavy pan retains heat, so transfer the oil when the flavor reaches the point you want.
Straining and serving
Strain and use
- Place the strainer over a stable, heatproof bowl. Pour carefully, keeping your hands clear of the oil and the rising heat.
- Check the oil for loose fragments. Strain again if pieces slipped through; do not assume a coarse sieve will remove finely ground spices.
- Taste a cooled sample with the food it will accompany. An oil that tastes assertive alone can work differently against rice, lentils, or vegetables.
- Add the oil where its flavor belongs. Stir it into a cooked dish for distribution or spoon it over the finished food for a more distinct accent.
- Make only the amount you need and avoid keeping leftovers as an improvised pantry condiment.
Expected result: the finished oil tastes of the chosen spice and reaches the dish without unwanted grit.
Do not press hard on the strained spices to chase every drop. Fine particles can pass through and change the texture. A clean finish matters more than recovering all the oil.
For 2026 pantry planning, replenish spices according to dishes you actually repeat. A jar used regularly teaches you more about its flavor than a large collection opened only occasionally.
Second workflow: bloom directly into the dish
A separate finishing oil is useful, but not always necessary. When you are making a cooked sauce, lentils, or a vegetable dish, bloom the whole spices in the cooking fat and continue the recipe in the same pan.
- Prepare the next ingredients before heating the oil. Have them ready so the spices do not keep frying while you chop.
- Warm the oil gently, add the whole spices, and stir until their aroma is evident.
- Add the next ingredients carefully, accounting for splattering when moisture meets hot oil.
- Continue the dish's cooking instructions. Remove large pods or other unwanted whole pieces before serving when appropriate.
Best for: dishes where the flavored fat should become part of the sauce. The advantage is direct flavor distribution; the limitation is that removing every small spice fragment becomes harder once other ingredients enter the pan.
Do not combine a separately toasted batch with a long, unattended bloom. The spices have already received heat. Watch them closely and move promptly to the next cooking stage.
Troubleshooting
The oil tastes bitter
Scorched spices are a common cause. Discard a burnt batch rather than hiding it under more ingredients; start again with gentler heat and skip the dry toast if necessary.
The flavor is faint
Check the spice aroma before changing the method. Lightly crack the next batch, give the warm steep more attention, and taste against the intended food. Heating harder is not the default fix.
The oil contains grit
Fine grinding or a coarse strainer leaves particles behind. Use larger cracked pieces and a finer strainer for a finishing oil. Leave powdered-spice blooming to dishes where suspended spice is welcome.
The pan spits when ingredients enter
Moisture meeting hot oil causes splattering. Dry equipment thoroughly, reduce the heat, and add wet cooking ingredients cautiously. Never pour water into hot oil to cool it.
The batch has an uncertain storage history
Discard it. Smell and appearance do not establish microbiological safety, and reheating is not a substitute for a validated storage method.
Customize your workflow
Change one variable at a time: the spice, whether it is cracked, or whether it is toasted. That makes the result easier to understand and repeat.
When choosing single-origin spices from 5Senses for this whole-spice oil, keep the stated origin with your cooking notes. Compare one spice at a time using the same oil and dish. Origin identifies the ingredient; tasting, careful heating, and safe handling determine the result.
If you add fresh garlic, fresh herbs, or other perishable ingredients, do not treat the finished oil as shelf-stable. For your 2026 workflow, apply the USDA Food Safety and Inspection Service's general perishable-food guidance: refrigerate at 40°F (4°C) or below, and do not leave perishable food at room temperature for more than 2 hours. These limits do not establish a storage life for homemade infused oil.
The simplest recommendation remains immediate use. This article provides no canning, acidification, or room-temperature preservation procedure.
FAQ
How do I infuse oil with whole spices?
Warm dried whole spices gently in cooking oil, take the pan off the heat when the aroma develops, and strain before serving. Taste a cooled sample and use the oil in the dish you prepared it for.
Do I have to toast whole spices before infusing oil?
No. Dry toasting adds roasted character, while direct blooming warms the spices in oil without a separate toast. Skip dry toasting when you want a lighter spice profile.
Is blooming the same as infusing?
No. Blooming heats spices in fat as a cooking step; infusing lets the oil take on spice flavor, often before the solids are strained out. The same preparation can include both.
Should I crush whole spices before adding them to oil?
Light cracking exposes more spice surface to the oil and keeps pieces easier to strain than fine powder. Leave spices intact when you want less exposed surface, then judge the result by aroma and a cooled taste.
Can I add fresh garlic to homemade spice oil?
Fresh garlic changes the safety requirements because it adds moisture to the oil. Use the preparation as part of immediate cooking rather than treating it as a pantry-stable condiment.
Why does my toasted spice oil taste burnt?
The spices received too much heat, including heat retained by the pan after it left the burner. Discard the burnt batch and restart with gentler heat or without dry toasting.
Can I keep homemade whole-spice oil at room temperature?
Do not assume homemade whole-spice oil is shelf-stable. This workflow is for immediate cooking and serving, not room-temperature preservation.
One last thing
Judge the infusion on the food, not just from the spoon. Before adding more spice, taste a little oil with the rice, vegetables, or sauce you intend to serve. The useful endpoint is the finished dish's balance, not the strongest possible oil.